

Backing up your photos and files is one of the most important steps you can take to protect your valuable data. Whether it’s family photos, important documents, or work files, losing these due to device failure, accidental deletion, or theft can be devastating. Fortunately, creating backups is easier than ever, and there are several reliable methods to ensure your data stays safe. In this guide, we’ll walk you through how to back up your photos and files effectively.
Why Backing Up Your Data Matters
Before diving into how to back up, it’s helpful to understand why it’s so important:
– Protection Against Hardware Failure: Computers and phones can fail unexpectedly.
– Safeguard from Accidental Deletion: Mistakes happen, and files can be deleted by accident.
– Defense Against Theft or Loss: Losing your device doesn’t mean losing your data.
– Peace of Mind: Knowing your files are safe reduces stress.
With those reasons in mind, let’s explore the best ways to back up your photos and files.
Methods for Backing Up Your Data
1. External Hard Drives or USB Drives
Using an external drive is one of the simplest methods for backing up data.
How it works:
– Connect an external hard drive or USB flash drive to your computer.
– Copy your important files and photos manually or use backup software.
Pros:
– One-time cost, no monthly fees.
– Large storage capacity.
– Easy to use without internet.
Cons:
– Can be physically lost or damaged.
– Requires manual updates unless automated software is used.
Tips:
– Use a reputable brand with good reviews.
– Keep the backup drive in a safe place separate from your computer.
2. Cloud Storage Services
Cloud storage lets you save files on remote servers accessible via the internet.
Popular options include Google Drive, Dropbox, OneDrive, and Apple iCloud.
How it works:
– Create an account with a cloud service.
– Upload files manually or install a syncing app that automatically backs up selected folders.
Pros:
– Access your files from any device with internet.
– Automatic backups with syncing apps.
– Secure, with encryption and password protection.
Cons:
– Limited free storage (usually a few GB).
– Requires internet connection.
– Monthly or yearly fees for larger storage plans.
Tips:
– Enable two-factor authentication for security.
– Regularly check your storage limits.
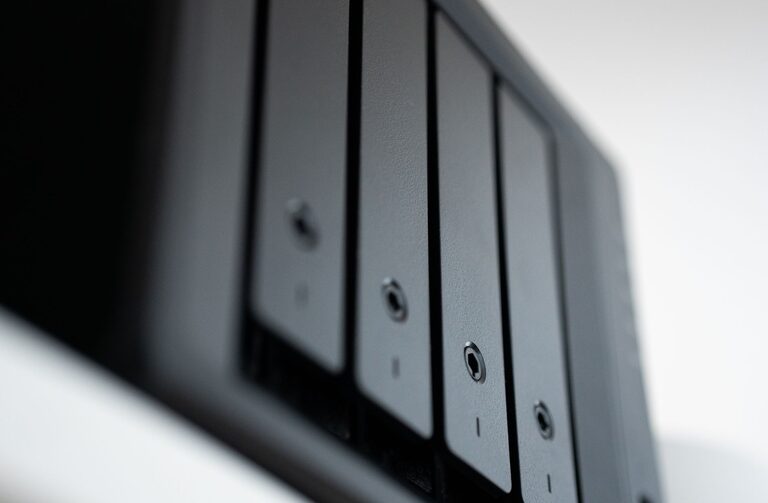
3. Network Attached Storage (NAS)
NAS is a dedicated device connected to your home network that stores backups.
How it works:
– Set up a NAS device at home.
– Use backup software or apps to send files from your devices to the NAS.
Pros:
– Large storage accessible to multiple devices.
– Fully under your control, no third-party service.
– Can be set up with RAID for extra data protection.
Cons:
– Higher initial cost.
– Requires some technical setup.
– Needs power and network connection.
4. Automated Backup Software
Several programs help automate backups to external drives or cloud services.
Features to look for:
– Scheduled backups at regular intervals.
– Incremental backups (only new or changed files).
– Easy restoration of files.
Popular options include Acronis True Image, Backblaze, and Windows File History or macOS Time Machine.
Creating a Backup Plan
To keep your data truly safe, follow these best practices:
Use the 3-2-1 Rule
– 3 copies of your data (original + 2 backups)
– Store on 2 different types of media (e.g., external drive + cloud)
– Keep 1 copy off-site (for example, cloud backup or a drive stored elsewhere)
Backup Regularly
Decide how often to back up based on how frequently your files change:
– For frequently updated files, back up daily or weekly.
– For rarely changed files, monthly may be enough.
Set reminders or automate backups to ensure consistency.
Organize Your Files
Keep your photos and files organized in folders. This makes backing up and restoring easier and faster.
Test Your Backups
Occasionally try restoring files from your backup to verify that they’re working correctly.
Step-By-Step: Backing Up Photos on Windows Using an External Drive
- Connect your external hard drive to your PC.
- Open File Explorer and locate your photos (usually in the Pictures folder).
- Select the folders or files you want to back up.
- Right-click and choose “Copy,” then open your external drive folder.
- Right-click and choose “Paste” to copy files.
- Safely eject the external drive when done.
- Open System Preferences and select “Apple ID.”
- Click on “iCloud” and check the “Photos” option.
- Your photos will automatically upload to iCloud.
- To access photos, open the Photos app or visit iCloud.com on any device.
Step-By-Step: Backing Up Photos on Mac Using iCloud
Final Tips
– Don’t rely on just one backup method.
– Keep backups updated and secure.
– Keep backup software and devices in good working order.
Backing up your photos and files might seem like a chore, but it protects your memories and important information. Starting with just one method, like a cloud service or external drive, is better than none. As you get comfortable, consider combining methods for even better security. Your future self will thank you!